This is Part 2 of the Closet Makeover series. The makeover is divided into five posts – Part 1 – Before Pics, Part 2 – Frantic to Functional,Part 3 – Concealed to Convenient, Part 4 – Unsightly to Unbelievable, Part 5 – The Big Reveal & After Pics. Here is how you make it functional.
To create a dressing space that facilitates dressing, it works best if wardrobe items and dressing tools are organized, accessible and well lit.

Define Your Dressing Area.
- If you have a walk in closet, use that as your dressing space.
- If you have a wall closet, define an area near the closet for dressing. Move bureaus, dressing tables, etc close to the closet so all your items are handy.
- If you have an extra room, create a dressing room
- Move anything that isn’t wardrobe related out of the dressing area.
Accessibility, You Wear What You Can Reach.
- Getting dressed is more frustrating when items are difficult to find or hard to reach. Move all wardrobe items off high shelves and out of back corners of the closet.
-

Dressing Tools Move everything that is dressing related from other parts of the home into the dressing area.
- Place things you use often within easy reach and things you use occasionally on upper/lower areas of the closet, but still within reach. You’ll use upper shelves later in step 4.
Personal Organization
- Organize your wardrobe based on how YOU think.
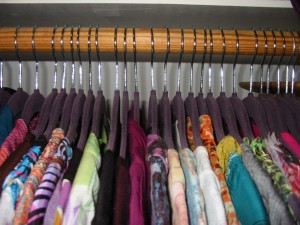
- Consider how you get dressed. Group items by color, outfit, occasion, or type of clothing. Whatever way works for you.
- Choose the right hangers for your clothes – velvet hangers keep clothes from slipping, coat hangers with give jacket shoulders extra support, special hangers like the Quirky Contour hold special pieces with unusual necklines or straps.

Tools – Put these tools in/near the closet
- Stool/ottoman for putting on shoes or reaching upper shelves,
- Full length mirror,
- Hampers/containers for sorting laundry as you undress. Get a hamper for each kind of laundry you do – whites, lights, darks, delicates, dry-cleaning. You’ll save time if place each item in the corresponding hamper to make laundering more
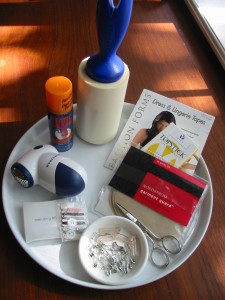
- Lint rollers, lingerie tape, garment guards if you’re sweaty, safety pins, etc. Keep a travel-size stash of these items in your purse or car for last-minute adjustments on the go.
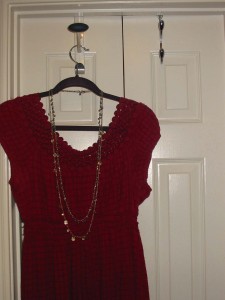
- Put a valet hook over the door so you can hang clothes on it to create outfits without trying everything on.
- A box for tags, receipts and spare buttons. Keep tags andreceipts for 3-6 months after purchase in case you want to return an item because it doesn’t work or doesn’t hold up to normal wear and laundering.
-

Save tags and buttons in a box or other container for 3 to 6 months. Ironing board, iron, starch, spray bottle of distilled water.
Lighting
- Install lighting so you can see in the closet.
- Change out light fixtures or add clamp-on or small table lamps to add more light in darker corners.
- Battery operated button-lights and strings of white Christmas lights are quick, easy and inexpensive options.
What have you done in your closet to make it more functional and inspiring?? Please share it in the comments so we can learn from you too!
Here are links to the other posts in the series
Part 1 – Project Overview and Before Pics
Part 2 – Frantic to Functional (this post)
Part 3 – Concealed to Convenient
Part 4 – Unsightly to Unbelievable
Part 5 – The Big Reveal and After Pics
The Ultimate Closet Makeover – Step-by-step tips for transforming your own closet
Here are more examples of pretty closets and display ideas.
